Onboard Your Strategy Team to BSC Designer
Involve members of your team in strategy planning and execution. Learn the difference between Power, Data Input, and View-only users.
Adding Users
To add additional users to an account:
- Go to the
 > Users section
 - Click the Add user button
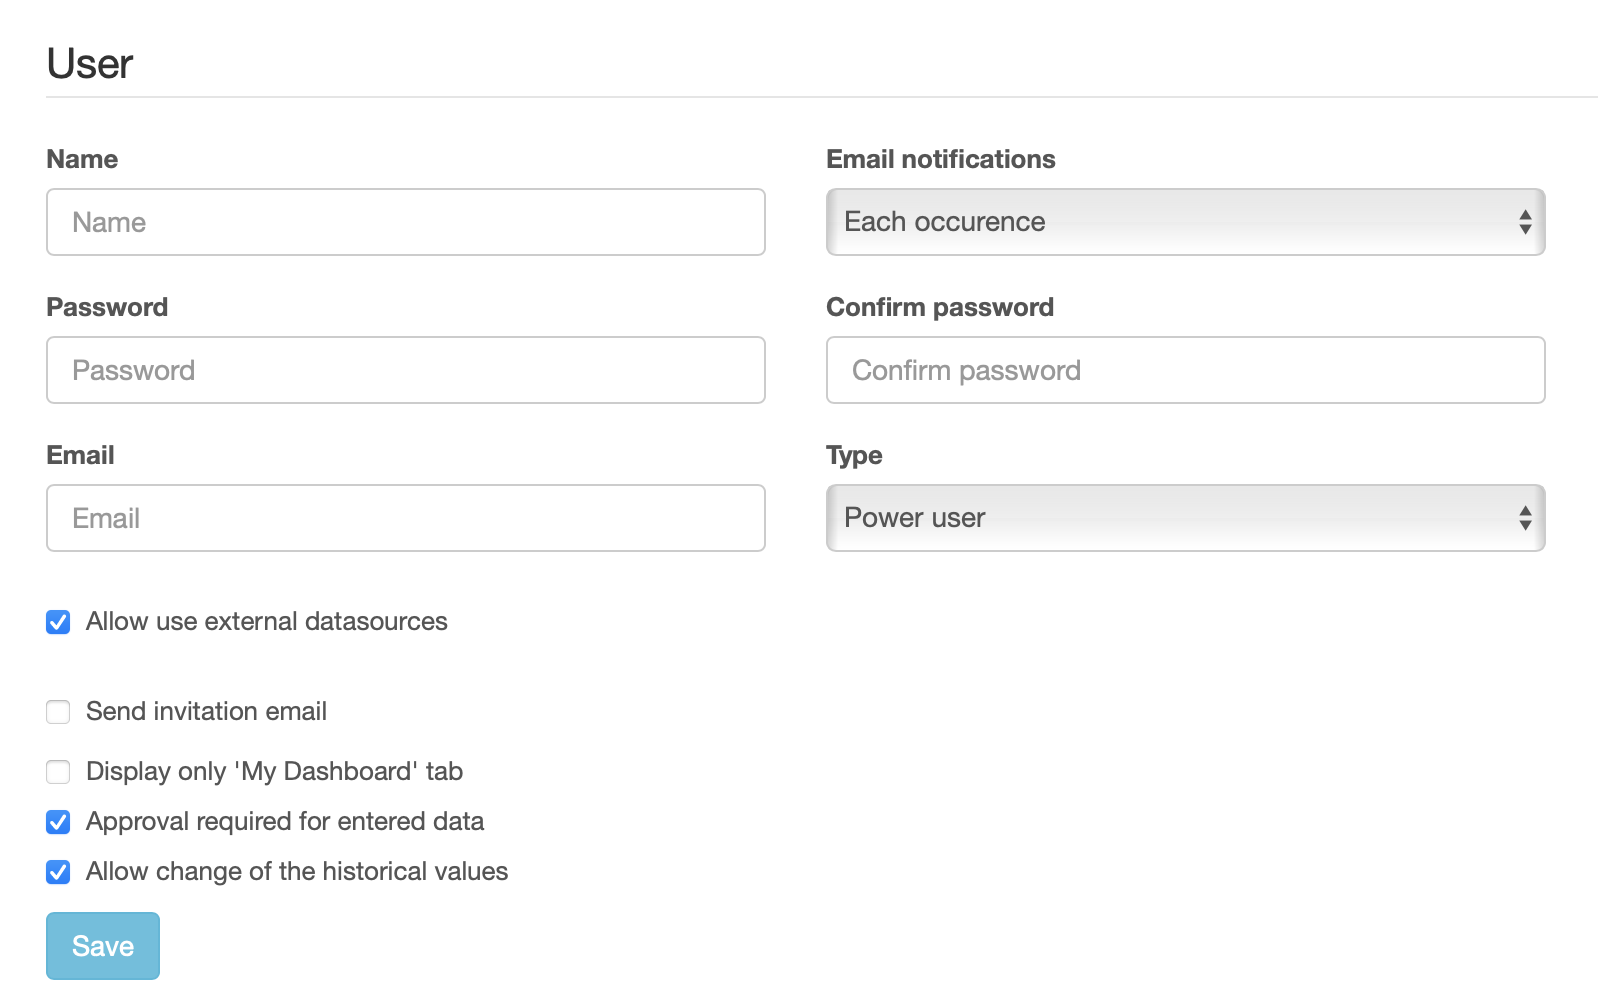
- Enter required details:
- Press Save button

Alternatively, send out the Invite link to the users so that they can self-register under their company's account.
Types of Users
An account owner can add Administrator, Power, Data Input or View-Only users to the BSC Designer account:
- Administrator can access and modify all scorecards and account settings.
- Power users can access and modify scorecards, enter new data into KPIs.
- Data input users can only enter new data in the value field of existing KPIs.
- View-Only users can only view data already entered by other users and access dashboards and strategy maps that already exist in the scorecard.
The number of power and data input users depends on the subscription that was bought. Check out the number of users allowed in your account in the Subscription section.
User Rights
An account administrator can adjust access rights of the users using additional options:
- Allow use external datasources (power users will be able to use existing datasources to create new SQL indicators)
- Restrict user rights to data input only (power user will be able to change the Value field of the indicator only)
- Approval required for entered data (new values entered by the user will need an approval by a power user)
- Allow change of the historical values (more settings available via > Settings > Workflow > Historical data)
User Logs
Security regulations in some companies require the software to log the activity of all users. BSC Designer allows the administrator to turn logging function on:
- Go to the Users section
- Click the Audit trail button
- Click the Settings button
- Select events that you need to log and click Enable logs
- The logs will be displayed in the Logs section