Ensure Data Consistency for KPIs Managed in BSC Designer
Use advanced functions for KPIs: specify update interval, define values grouping, change value inheritance and stop-lights properties.
Update Interval
For any KPI on the scorecard an update interval can be adjusted:
- Select a KPI
- Click Values Editor
- Find Update interval type settings
- Select required update interval and click Close
Change the update interval that the software uses by default for the new indicators via menu Tools > Options > Default update interval.
Value Inheritance
Value inheritance defines whether the software will use previous values for the dates without data, or if it will use only specifically entered values.
To adjust inheritance settings:
- Select an indicator
- Click onto the Values Editor button on the toolbar
- Use the Values inheritance option
Update default inheritance via Tools > Options > Default value inheritance.
Data Grouping
When displaying data aggregated by time periods, the software uses the grouping setting for an indicator. To define data grouping:
- Select an indicator
- Click onto the Values Editor button on the toolbar
- Use the Group by drop list
Formulas for KPIs
To calculate a KPI using other KPIs:
- Select a KPI
- Switch to the Data tab, click on the Data source button:
- Select
 Formula as a data source

The Formula dialog will be displayed:
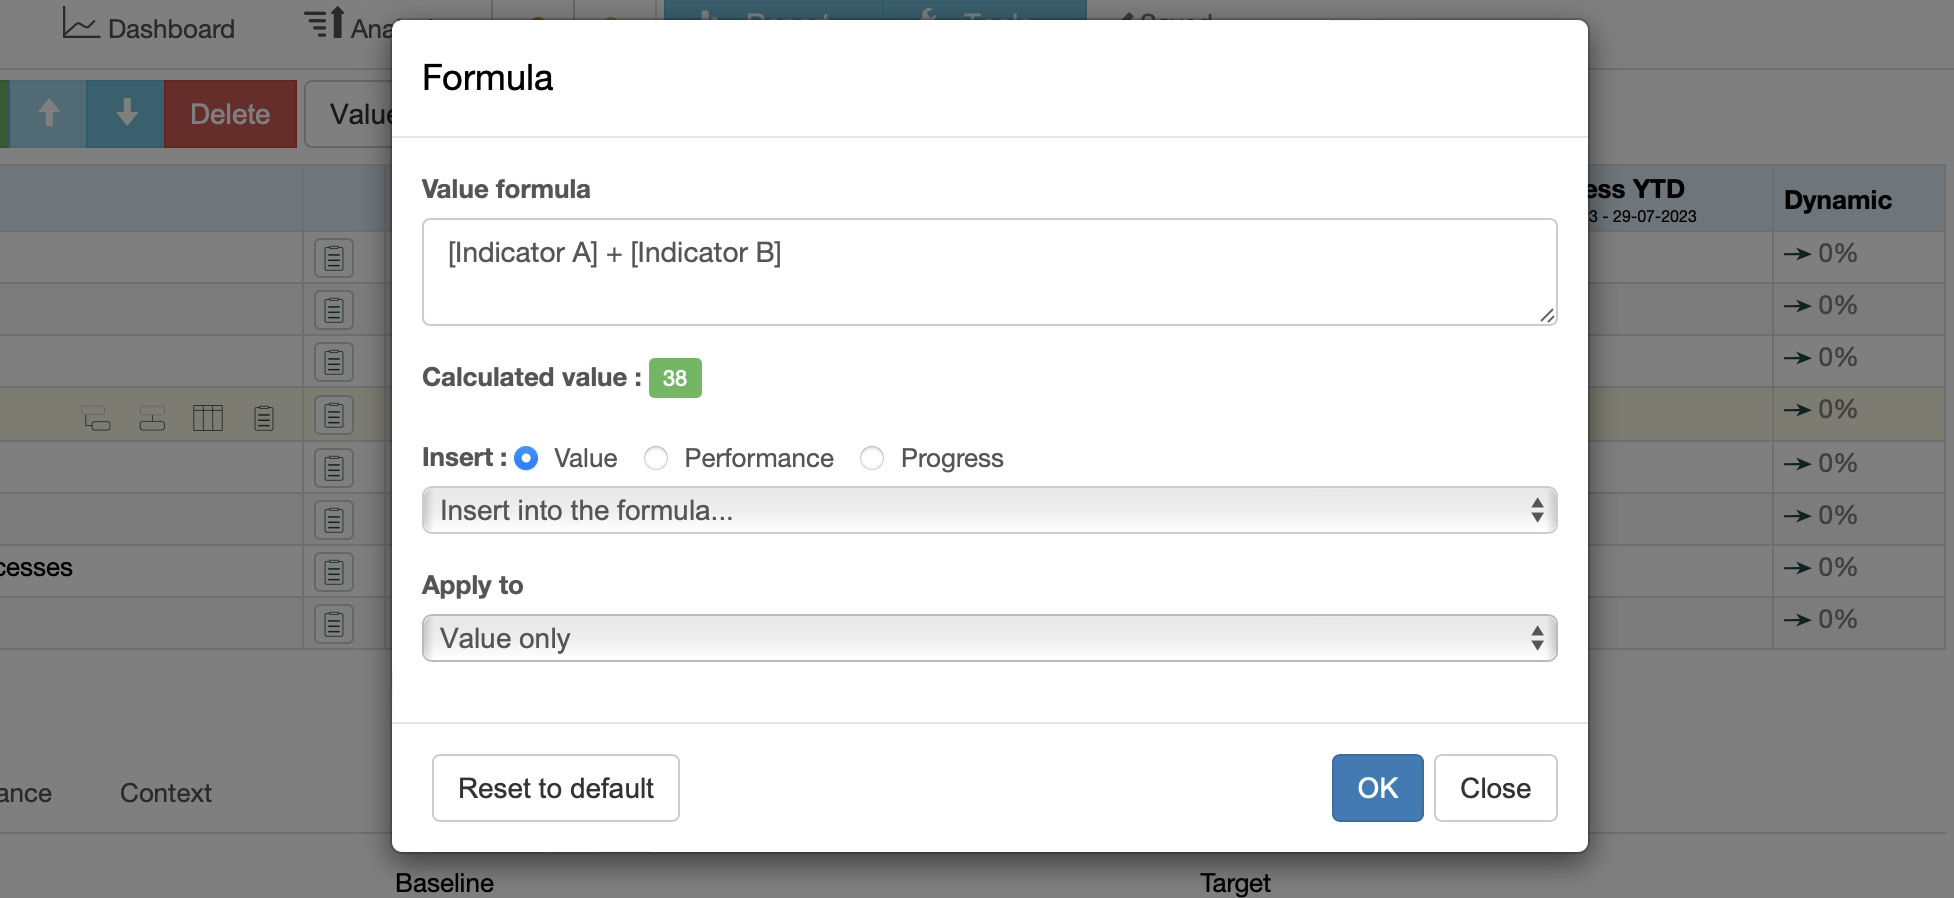
Use Insert controls to add a KPI to the formula:
- Select if the software should use the KPI's value, progress, or performance.
- Select a KPI in the list to add it to the formula.
Apply to option defines how the formula will be applied:
- All applies the formula to all numerical properties of the indicator.
- Value only applies the results to the value of the indicator. The user can enter the target manually.
- Target only applies the results to the target of the indicator. The user can enter the current value manually.
Use [.] to search for an indicator inside the current item; use [..] to search for an indicator inside the parent item.